To prepare the dome involved a lot of monotonous but important work. The dome first had to be sanded to look like brushed aluminum, which took many hours to get right. I wanted the lines on my dome to be perfectly straight, so the process involved several days of painstakingly sanding the dome in a precise pattern. After two weeks of sanding, the dome was finally ready for polishing!
The dome polish took far less time to apply than the sanding had taken. All that was needed was to smear some of the polish on and rub it on like "Karate Kid": wax on, wax off.
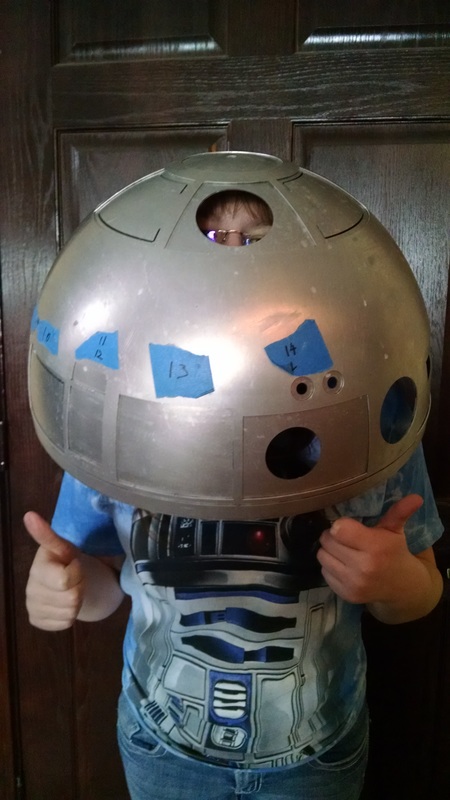
Once the polish was applied, I glued the painted panels onto the dome and held them in place with masking tape while the glue slowly dried. Unfortunately, some of the paint came off with the tape, so I will have to repaint it.
While I was waiting for the dome's glue to dry, I glued several pieces on to the body, so the next step the body needs is painting! In the meantime, I'll make the foot drives, put the legs on, and perhaps finish the dome!
The dome polish took far less time to apply than the sanding had taken. All that was needed was to smear some of the polish on and rub it on like "Karate Kid": wax on, wax off.
Once the polish was applied, I glued the painted panels onto the dome and held them in place with masking tape while the glue slowly dried. Unfortunately, some of the paint came off with the tape, so I will have to repaint it.
While I was waiting for the dome's glue to dry, I glued several pieces on to the body, so the next step the body needs is painting! In the meantime, I'll make the foot drives, put the legs on, and perhaps finish the dome!
 RSS Feed