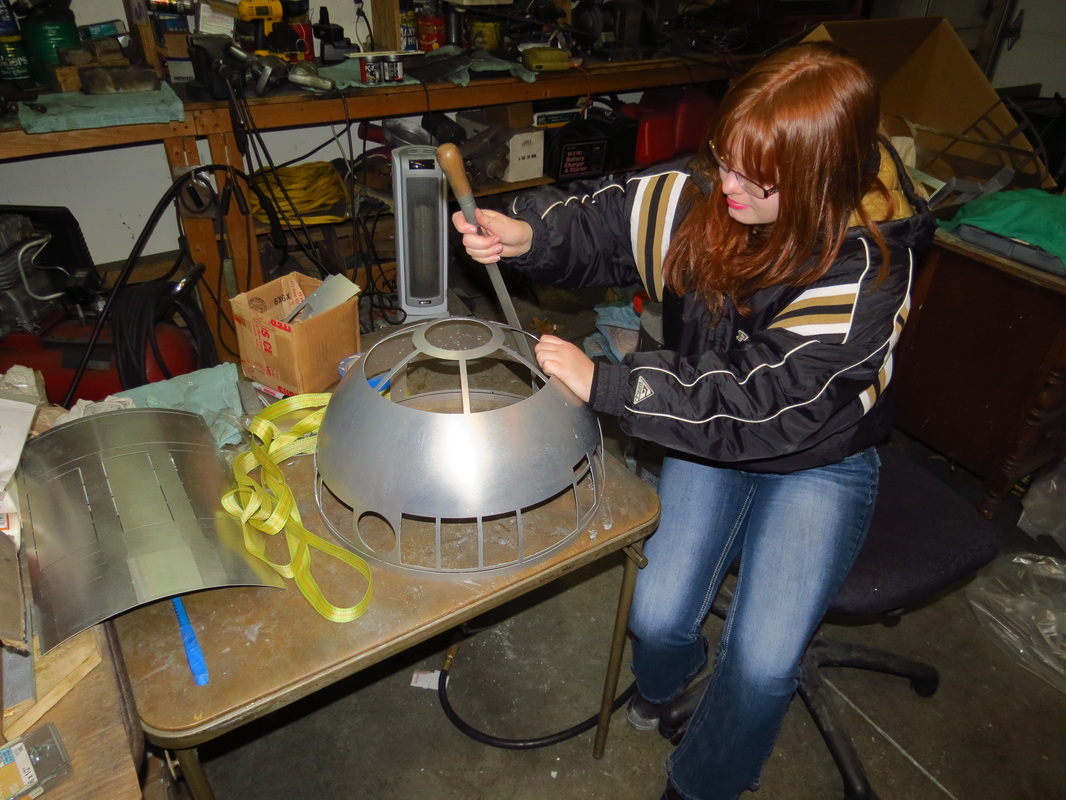
The next step was going to be exciting: I was going to put on the aluminium skins, which are a lot of what makes R2 look like R2! The skins are the outside part of the R2, and they come in four layers: two inner layers (back and front) and two outer layers (also back and front). Before the skins and dome (which comes in two pieces: the inside and outside) can be glued onto the frame, they have to have pieces taken out of them. When removing the pieces I had to be careful to avoid warping the parts or removing the wrong ones, because once a piece has been warped it can be extremely difficult to fix them. Some of the pieces can be twisted out (like a giant model) while others must be sawed out by hand. Because there are over 50 pieces to saw out, it took a long time to remove the pieces! To make the sawing easier I wrapped masking tape around my fingers to help protect them from the saw.
Then the edges and tabs need to be sanded down. One of the tools I used for this (and for the first time ever) was a hand-held belt sander. The belt sander removes the tabs in seconds, but it can easily cut into the skins and make a visible dent in them, so I had to be very careful not to go too far. Once the pieces had been cut out of the dome, it required a special curved file to remove the burrs so the outside part of the dome would fit the inside part, while still ensuring that the dome was not not damaged in the process.
The next step is to glue the skins on.
 RSS Feed